From topics
Last updated 5 months ago
This mode allows you to monitor the latest news on a specific user-defined topic, aggregated similarly to Google News, providing a convenient, constantly updated feed with new ideas for creating content on your favorite subjects.
Based on your website’s topic, you can specify certain themes for the tool to monitor, as it continuously scans the web for the latest updates.
It then aggregates news from multiple sources on the same topic for better readability and to streamline editorial work, making it easier to quickly identify key topics and produce a news article.
Once the topic is selected, defining its characteristics is similar to the “From search keyword” feature.
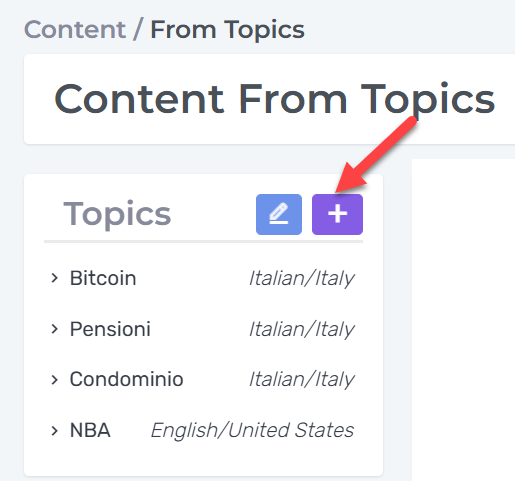
STEP 1: ADDING TOPICS
Click on the “Topics” icon STEP 1: ADDING TOPICS
Click on the “Topics” icon

to add a new topic from scratch.
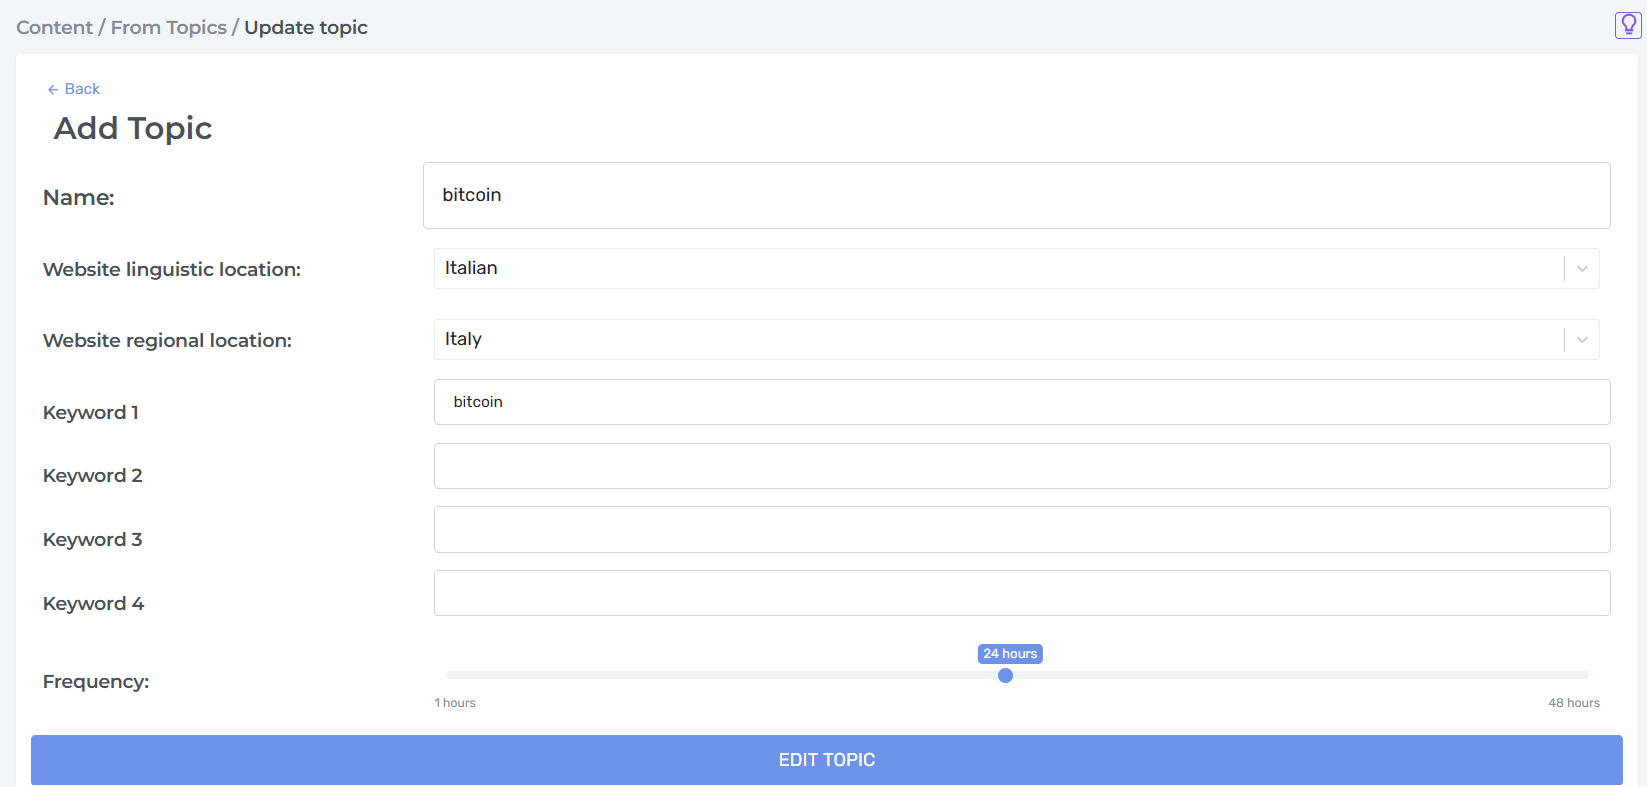
The following screen will automatically appear:
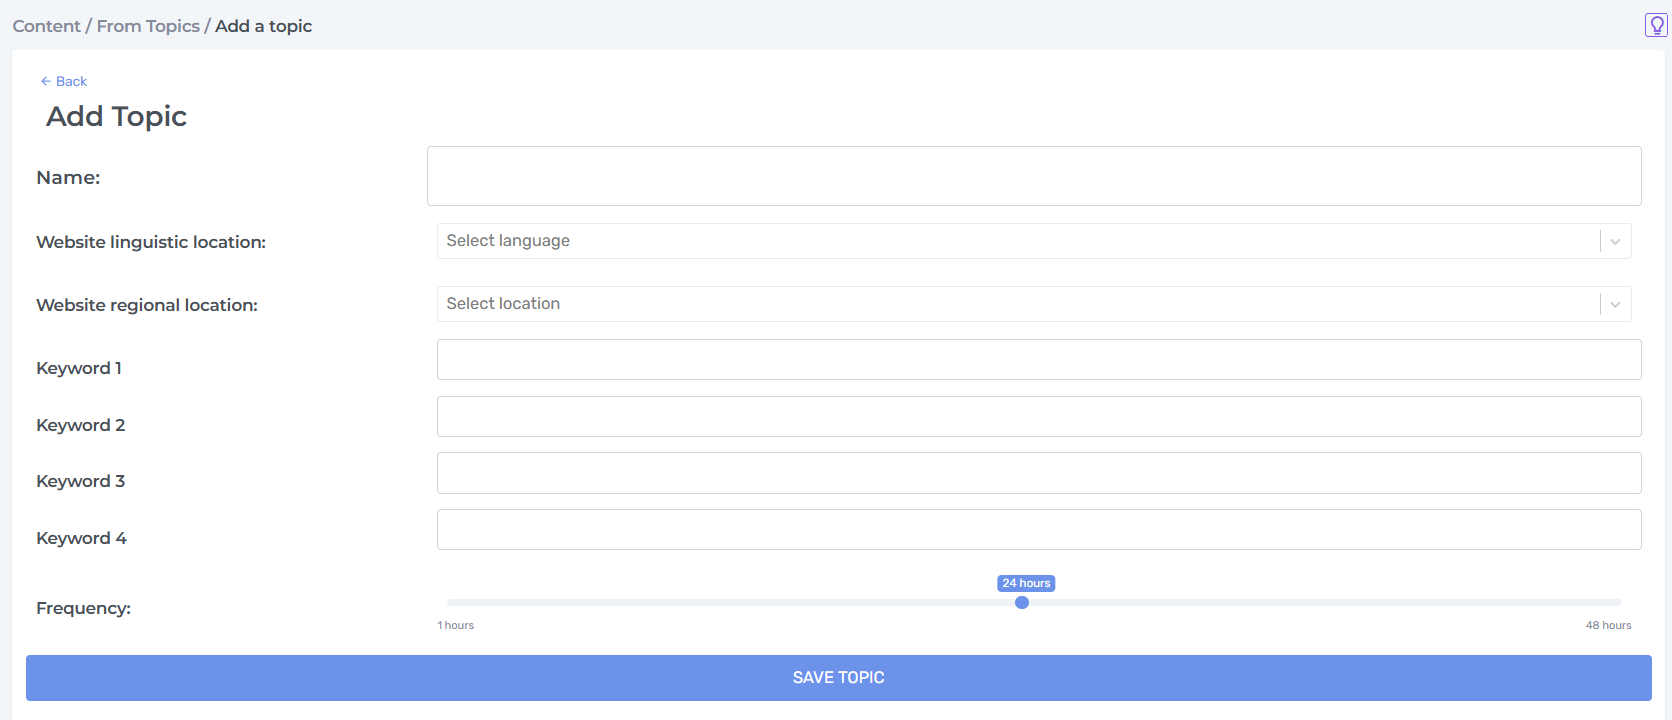
In “Name”, enter the topic you want to monitor on Google News. Use a descriptive and easily recognizable name.
In “Site language localization”, select the desired language for the news, which will influence the monitoring results.
In “Site regional localization”, specify the country of reference for the monitoring. This setting determines the geographical origin of the news.
In “Keyword (1,2,3,4)”, select the reference keyword for the topic you want to monitor on Google News. The keywords should be relevant to the subject of interest.
In “Frequency”, select an interval between 1 hour (minimum) and 48 hours (maximum). This setting determines how often the tool will check for new news related to the configured topic.
Once all the required fields have been filled in, confirm the operation by clicking “Save topic” to activate monitoring for the configured topic.
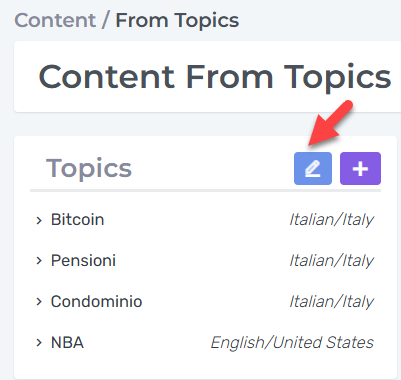
EDIT TOPICS
By clicking on the icon

, you can modify the settings of a previously added source.
The following screen will automatically appear, showing a summary of the topics previously created. You can modify any topic from the list by clicking the corresponding icon

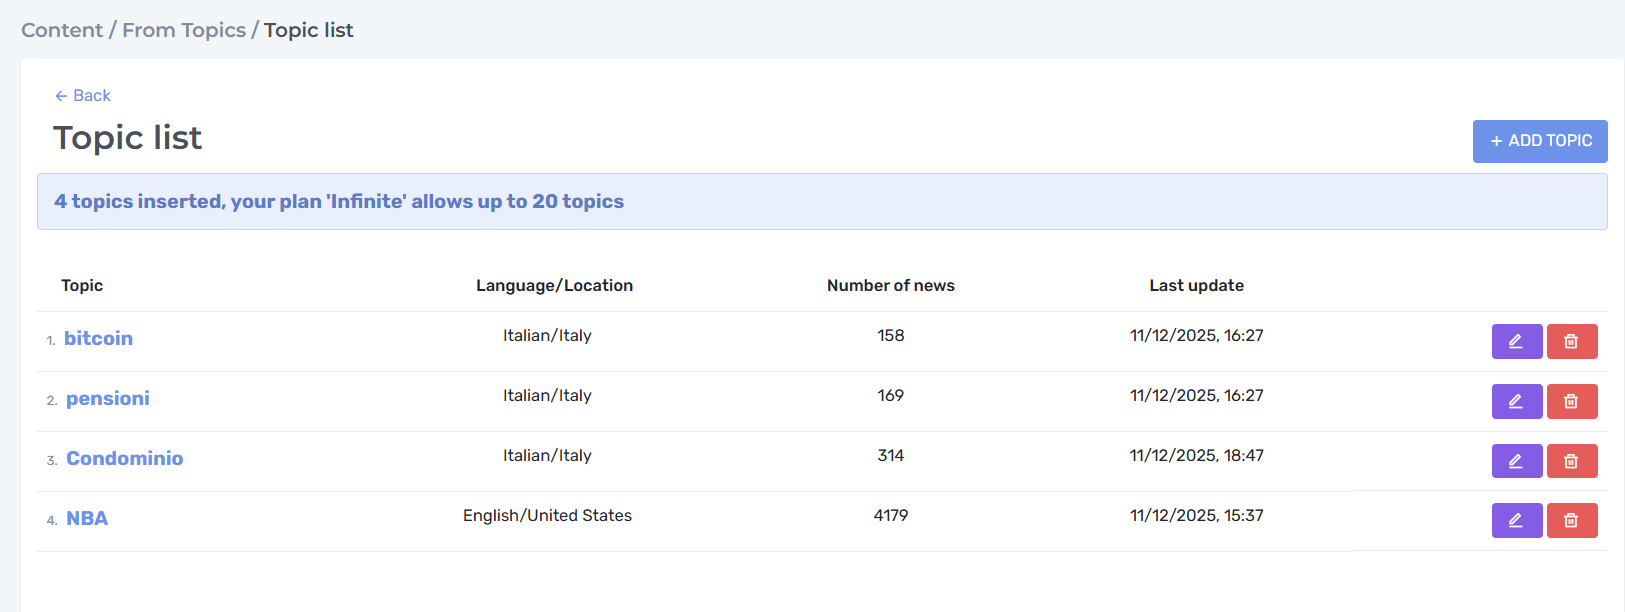
To proceed with the edits, update the necessary fields that were previously filled in:
In “Name”, enter the topic you want to monitor on Google News. Use a descriptive and easily recognizable name.
In “Site language localization”, select the desired language for the news, which will affect the monitoring results.
In “Site regional localization”, specify the country of reference for monitoring. This setting determines the geographical origin of the news.
In “Keyword (1,2,3,4)”, select the reference keyword for the topic you want to monitor on Google News. The keywords should be relevant to the subject of interest.
In “Frequency”, select an interval between 1 hour (minimum) and 48 hours (maximum). This setting determines how often the tool will check for new news related to the configured topic.
Once all required fields have been updated, confirm the operation by clicking “Edit topic” to activate monitoring for the updated source.
DELETE SOURCES
Click on the icon

to completely remove a previously added topic.
STEP 2: CONTENT CREATION
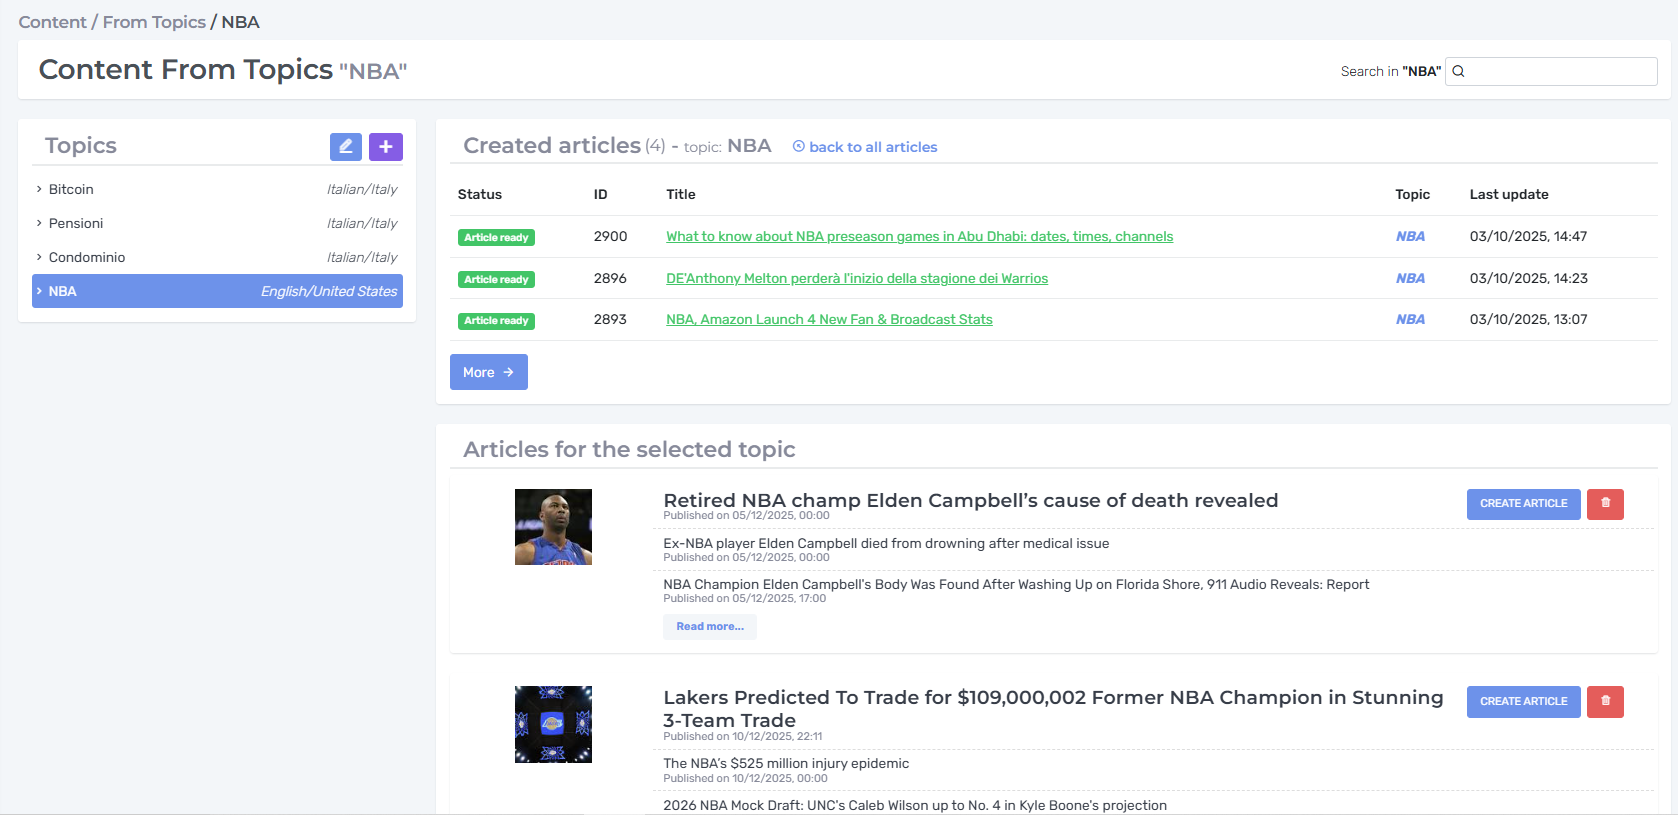
Select the previously configured topic from “Topics” on the left.
In “Articles for the selected topic”, you can see various recent news and updates based on the chosen theme.
Click on the icon

to delete the topic if it is considered irrelevant or unnecessary.
Click “Create article” to proceed with content creation.
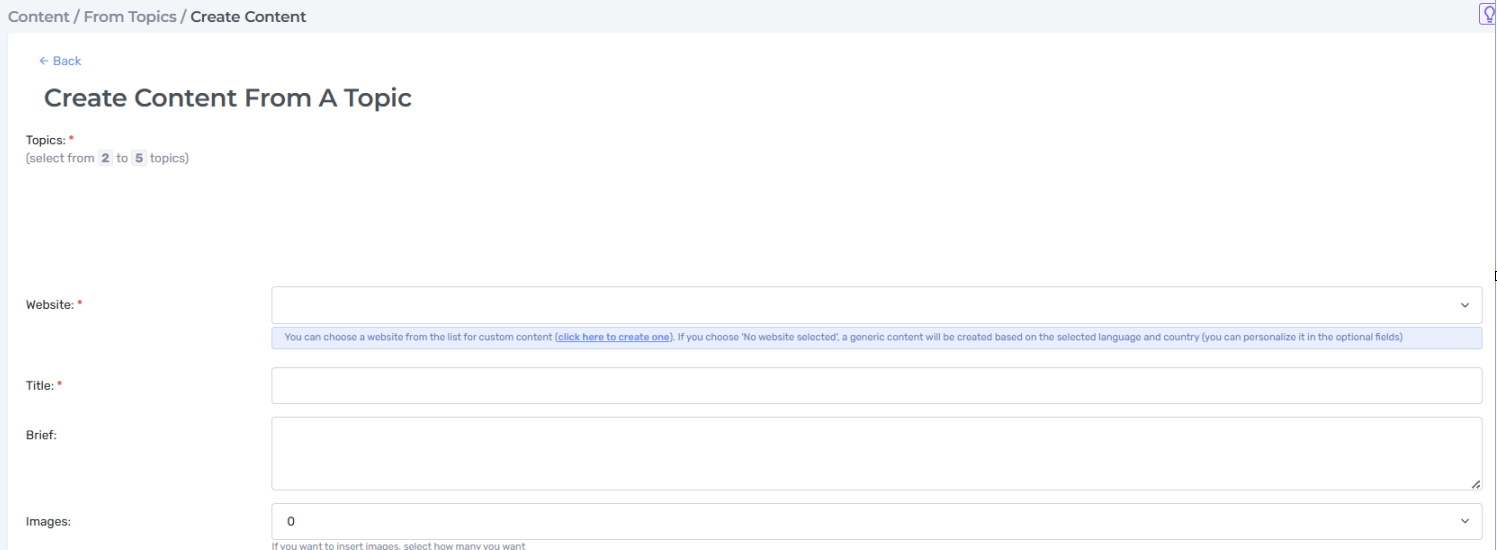

In “Topics”, check the boxes corresponding to the topics considered most relevant (minimum 2 – maximum 5).
Select the website in “Site” where you want to work. If no site is available, you must first add one in Settings > Sites.
In “Title”, enter the title of the content you want to generate. This helps the tool determine what the content should focus on.
Use the “Brief” field to provide the tool with any specific instructions on how the content should be written, which themes to cover, and areas to explore in depth. If no brief is provided, the tool will autonomously structure the content using an in-depth SEO analysis to compete effectively with other content on the same topic.
In the “Images” field, you can request 1 to 4 cover images for the content. Optional fields allow you to specify additional details. You can also generate more images after the content has been created. Therefore, it is recommended to initially select 1 if an image is needed.
Once all configurations are complete (you can define additional options by clicking the “OPTIONAL FIELDS” box explained below), click “Start Project” to begin the process. The tool will first perform an in-depth SEO and semantic analysis and will provide the final content within a few minutes.
OPTIONAL FIELDS
By clicking on “Optional Fields”, a form will open allowing you to define the content’s characteristics in more detail.
These fields are automatically populated based on the settings specified in Settings > Sites > Site Name > Settings

> Default Values, but they can be customized for each request.
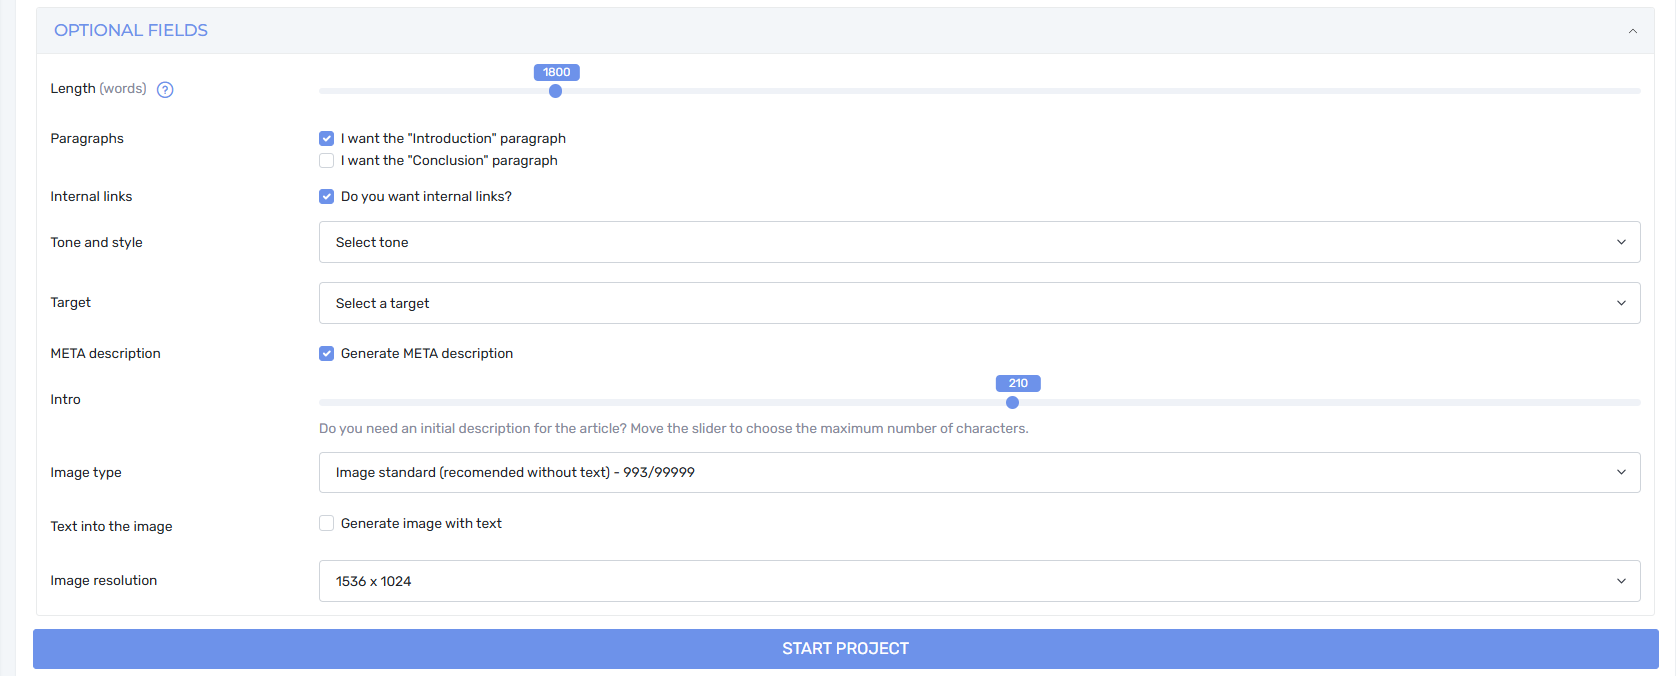
In “Length”, you can specify the desired length for the final content by selecting the number of words. Important note: content exceeding 2,800 words is subject to different pricing (more details are provided during selection).
In “Paragraphs”, you can indicate whether you want the content to include a dedicated “Introduction” paragraph and a “Conclusion” paragraph.
“Internal Links”: check this box to enable automatic insertion of links to other pages on your website. The tool will automatically insert links to relevant pages already present on your site when it detects related topics in the text.
In “Tone & Style”, use the dropdown menu to select the most appropriate communication tone and writing style (formal, informal, technical, educational, etc.). You can also select any custom tones and styles created in Settings > Sites.
In “Target”, you can specify the intended audience for the content to optimize language and communication approach. If no target is available, you must first add one in Settings > Sites.
If needed for SEO optimization, enable the option for automatic generation of the “Meta Description”.
If an introductory description for the content is required, specify it in “Intro” using the slider to set the length in number of characters.
You can define the Type of Image to generate, choosing between standard image (recommended without text) and high-quality image (with text). What’s the difference?
Standard image without text: images are generally good output but may have minor errors, such as missing small parts of objects or people. Not recommended if you want text included.
High-quality image with text: high-quality images, including photographic style, free of errors, and capable of displaying long texts.
If you want to include “Text on Image”, check the box and specify the text to add.
Select the “Image Resolution” from the menu: 1024x1024 (square), 1536x1024 (horizontal), or 1024x1536 (vertical).
After completing both the required parameters and the optional fields configuration, click “Start Project” to begin the process.
You can wait on the page or leave it. If you leave, you can track the content creation status under “Content” > “From Topics”. To understand the meaning of the various content generation statuses, refer to the legend at the end of this document.*

Once the project reaches the “Article Ready” status, the system makes the full content available for final review and any necessary edits.
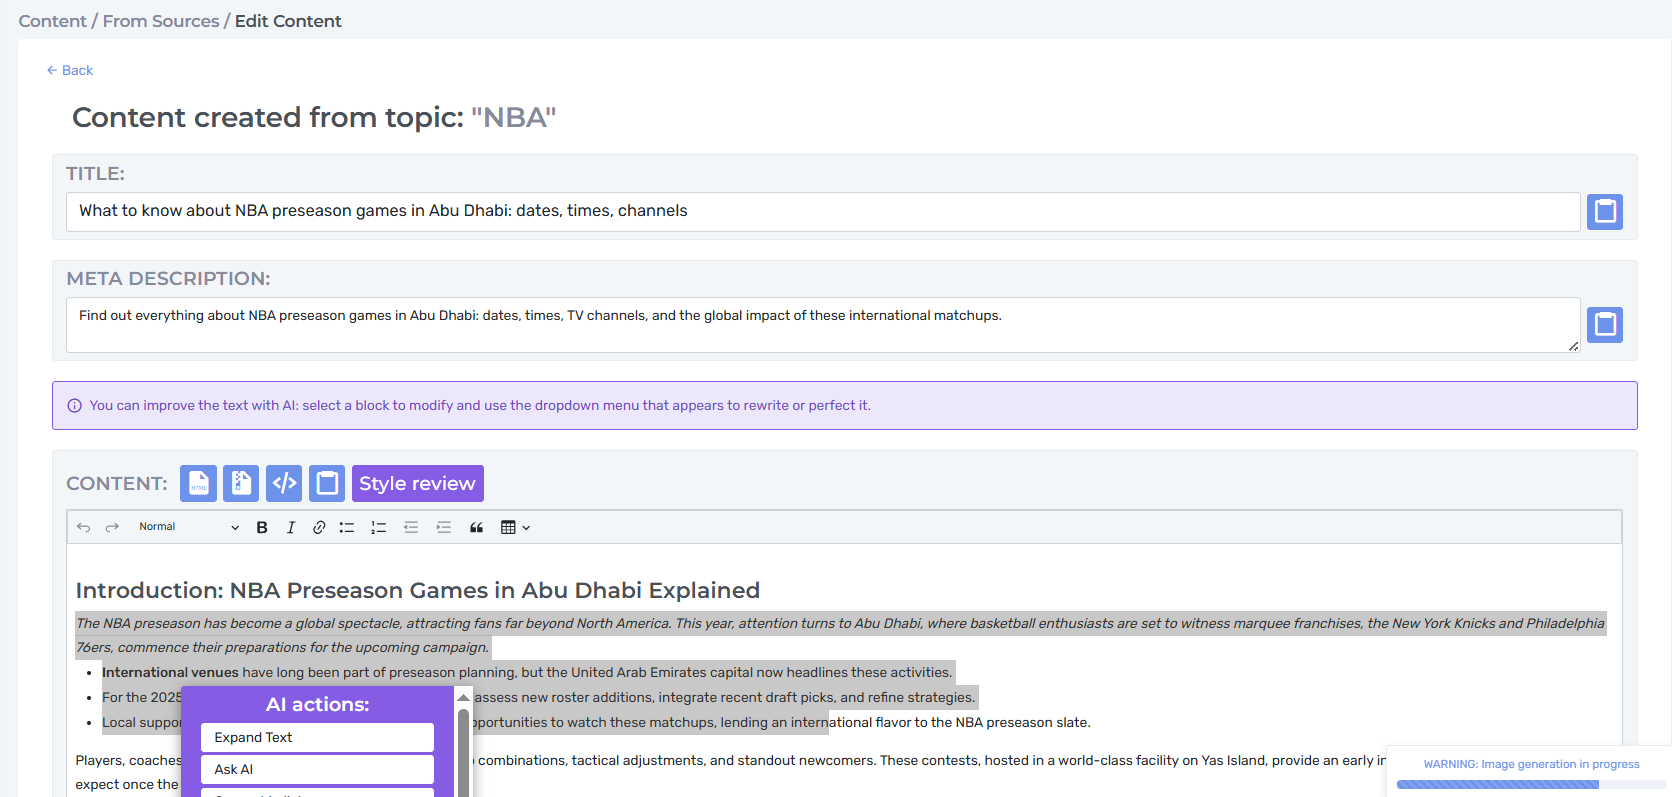
The tool presents the final result in its entirety, allowing you to view all requested elements:
Meta Description: the SEO-optimized description (if requested in the configuration).
Introductory Paragraph: the opening paragraph that introduces the topic (if selected in the optional parameters).
Main Text: the full body of the content with formatting.
By clicking on the corresponding icon, you can view the content in HTML.
Use the dedicated icon to automatically select the entire text. Once selected, you can quickly copy the entire content, transfer it to other documents or platforms, and share the material without manually highlighting it.
The “Content” section contains the generated text and offers advanced tools for refining the text through direct interaction with the tool. You can make manual edits or use the dropdown menu to request the tool to:
Expand: lengthen the content by adding details, examples, or deeper explanations.
Ask AI: provide instructions to the AI for a specific request, describing the changes to be made on a selected text.
Convert to List: transform the text into a bulleted or numbered list.
Convert to Text: convert lists or other formats back into plain text.
Create Image: generate images related to the text content.
Create Table: organize information in a tabular format.
Format Text: apply formatting styles (bold, italics, headings, etc.).
Shorten: reduce the text while keeping essential information.
Rewrite Text: completely rephrase the content while retaining its meaning.
Simplify Text: make the language more accessible and easier to understand.
Translate: convert the text into other available languages.
Once the creation process is complete, you can save the content by clicking “Save Content”.
Input Data Review: here you can view all the data initially provided during the content creation setup.
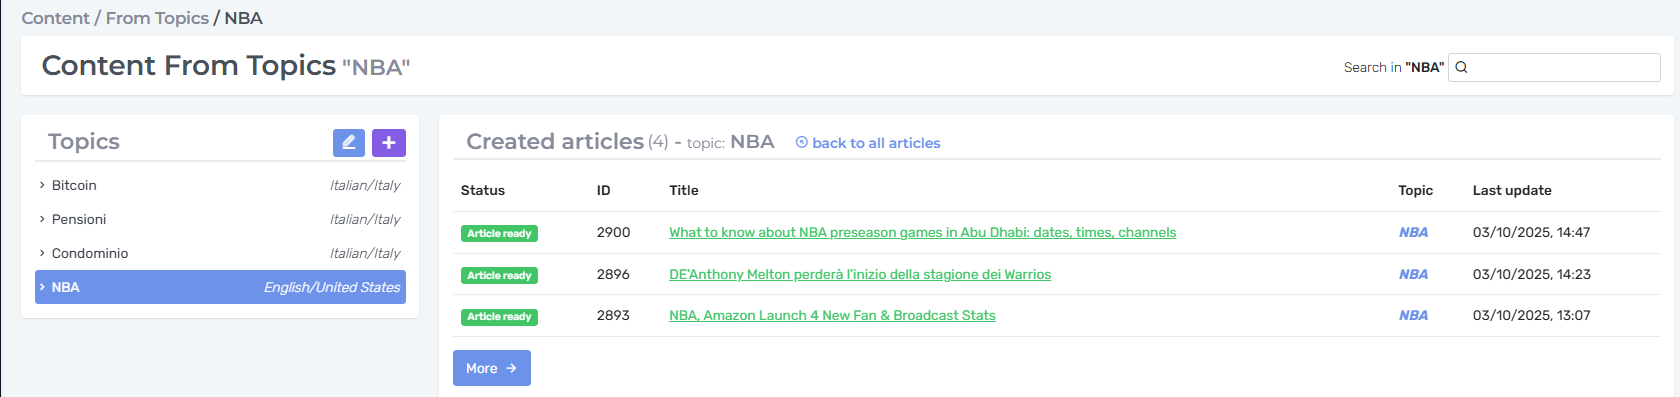
LIST OF CREATED CONTENT
You can view the content created in “Content from Topics” and check their status directly on the homepage, or filter them by category by selecting the category on the left.
Legend of Content Processing Status:
The system monitors each piece of content through different statuses that indicate its current processing stage.
Waiting to Start: the content is in the queue for processing. No action is required.
Keyword Without Sources: the keywords did not produce sufficient results. Action required: modify the search keywords.
Analysis in Progress: the system is analyzing available sources and gathering information.
Keywords and Topic Analysis Completed: the analysis is complete. The system has gathered enough information to proceed.
Structure to Review: the content structure is ready for review. Action required: approve or modify the proposed structure.
Structure Creation in Progress: the system is finalizing the content structure.
Queued for Writing: the content is scheduled for writing but waiting for available resources.
Writing in Progress: active drafting of the text according to the defined structure.
Final Optimization: the text is complete, and the system is performing final optimizations.
Stylistic Review: linguistic refinement and consistency check of the text.
Article Ready: the content is complete and ready for publication.
No Results: the system was unable to produce satisfactory content. Action required: review the search parameters.
Note on AI-Generated Images:
Images generated through AuthorEvo are produced using advanced AI models trained on large multimodal datasets. While state-of-the-art algorithms are used to ensure visual coherence and quality, the probabilistic nature of AI systems means results may occasionally contain imperfections, anomalies, or content not perfectly aligned with the requested specifications. Users are therefore advised to consider the images as generative outputs to be reviewed and, if necessary, refined or post-processed according to the final usage context.